For Part 2 Click Here
 | |
| The finished one |
Step 1: Create a new image
 |
| What the image should look like so far |
Step 2: Background
 | |
| In this step, just make another box (Behind the first one) and fill it with a light colour. |
Step 3: A line
 |
| A line lighter than both colours is used as a separator |
I used the line tool(U) with a light colour to separate both the boxes.
Step 4: Stylizing
 |
| Website with the effect added |
Use the Brush Tool (B), size 700+, hardness 0, and with a layer between the top box and the bottom box just press once and lower the opacity of the layer to create the effect shown in the picture.
Step 5: Stylize part 2
Now do the same again but on the top box.
Step 6: Site Content Boxes
 |
| What it should look like |
Step 7:Navigation Links
 |
| What the navigation should look like |
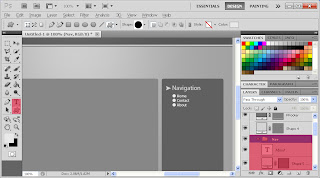
Here I created links for the navigation bar using a very light grey. For the arrow next to "Navigation" I used an arrow from the Custom Shape Tool(U).
Step 8: Search Function
 |
| The search Function |
To make the search bar I used the Rounded Rectangle Tool (U) again with a light gray and then
copy the layer (Ctrl + J) and put it behind the first one and make it a darker colour and move it up 1px and left 1px. To make to "GO" Button first make a square box with the Rounded Rectangle Tool (U) and add a gradient overlay, I did mine at a 45º angle and used the colours #a90d0e (Top left) and #d71315 (Bottom right) Then I added the "GO" Text and put it all in it's own group.
Step 9: Logo
For the logo I made a new layer and simply typed my logo in pure white and added a Custom Shape, which is the butterfly.
Step 10: Text
 |
| When the text is added |
For the main content on the site (The main Text) I created another lighter box and added white text to it, in the dark box I added the date of which the text was added and the text also has a header.
Step 11: Finishing Touches
Here I did a few finishing touches like adding a page navigating (Highlighted in red) and added some external link. You can also see that all the layers are all sorted in groups within groups.
This is part 1 on Creating a website with Adobe Photoshop, part 2 will show you how to slice the image and generate the HTML and CSS for the website.
For Part 2 Click Here
Adobe Dreamweaver CS5 Student & Teacher Edition


No comments:
Post a Comment